I was introduced to this recipe by our neighborhood's Elder Stateswoman, Trish. I'm not sure how to describe Trish.. I'm pretty sure she's 136 years old, but if she were to hear me say that, she'd pull the nearest switch from a tree and tan my hind-end with the strength of a 25 year old linebacker! Then, she'd bend a knee and pray for my recovery!
She'll appear at your door with a batch of fresh made cinnamon rolls, just when you or your family seems to need it most and recently, after I returned from a doctor's appt, she appeared with an incredible banana pudding! Naturally, being as full of love and respect for my elders as I tend to ever be... I stole her recipe to publish it here. Please don't tell her!
This pudding tastes like pudding. By that, I mean to say that it doesn't taste like the processed goo that's been stored for months in an air-tight plastic cup. It's not good pudding, it's GREAT pudding and it takes a bit of work so... Let's do this!!
You Will Need:
- Deep Dish Pie plate
- For the Crust:
- 2 Cups Nabisco 'Nilla Wafer Crumbs
- 1/3 Cup Sugar
- 1 Stick Butter
- 2 or 3 Bananas
- For the Pudding:
- 3/4 Cup sugar
- 1/3 Cup flour
- 1/4 Tsp Salt
- 2 Cups half-n-half
- 3 Egg yolks (Beaten)
- 2 Tbsp butter
- 1 Tsp Vanilla extract
- 2 Drops Banana extract (optional)
- For the Cream:
- 1 Pint Heavy Cream
- 1/3 Cup powdered sugar
- 1 Tsp Vanilla
This pie is big! It's big in so many ways... Anyway, you'll need a big pie plate. How big? Deep! If you're buying a new pie plate for this recipe (and really, what more of an excuse would you need?), it will be easy to compare them all and just grab the biggest one. Mine was big enough, and it's 2" deep so... purchase accordingly.
Take a brand new box of 'Nilla Wafers and pour them all into your food processor. Hit the "Pulse" button until you have a nice pile of crumbs. Measure out 2 cups of them and then pour the rest into a tall glass. Fill the remainder of the glass with cold milk and enjoy it as this recipe moves forward... you'll need the refreshment! Add the sugar to your wafer-crumbs. Melt the butter, and pour it into the mix. Stir with a fork until all the crumbs are coated.
Dump the 'Nilla crumbly into your pie plate and use your fingers to spread it across the bottom and up the sides. Push and press until it's all evenly distributed around the pie plate. Now, slide it into a 375 degree oven for ten short minutes. Pull it out and set it aside somewhere to cool down. Slice the bananas and line them up across the bottom and sides of the 'Nilla crust.
Now,
focus, take a deep breath, and get ready for the hard part!
The hard part (the pudding/filling) starts by combining the flour, sugar, and salt into a heavy saucepan. Mix it together. Add the half-n-half and stir to combine with a whisk. When it's nice and uniform it will look like a pan full of milk. Put the spurs to the heat and crank it up to Medium. Keep stirring. You'll get bored, and you'll be tempted to turn up the heat but; DO NOT DO IT! Stay Medium, and keep stirring until the magic happens. Drink some of your 'Nilla Milk to pass the time.
"What magic, Ken" you ask? Well, after you've stirred forever and the heat builds, it will thicken. "How thick?" Well, "Primordial ooze" thick. "Tar Pit" thick. The pudding will start to burp and bubble. Once it starts burping, stir for two minutes and take it off the heat.
Carefully dribble a spoonful of the hot pudding into the bowl where you've beaten your egg yolks and immediately stir it all vigorously. You're "tempering" your egg yolks. If you're familiar with tempering, then carry on... if not, then understand that what you're trying to accomplish here is to bring your egg yolks up to the temperature to match the pudding, without scrambling or cooking them! When you've added a few spoonfuls of pudding to the eggs and stirred it all together, then dump the egg mix back into the pudding. Use a rubber spatula to get it all. Stir until the bubbling starts again, and go another two minutes. The pudding will turn yellow and actually start to look like banana pudding!

After you've stirred for the final two minutes, dump in the butter, vanilla, and banana extract. The banana extract is powerful stuff... You can omit if it you don't want to go "full banana!" I find that a few drops adds just enough banana to the "nose" of the pudding, but not enough to smack you in the face with a tree full of bananas. Stir in the extract and keep stirring until the butter is melted!
Gather strength, and take the pot over to your crust. Slowly pour the mixture over the bananas. Use a rubber spatula to get it all out, and then smooth it over. It should be thick! It should look like cake batter! Spread a single layer of plastic wrap over the top so a "skin" won't form, and park this pie in the fridge to cool down for at least one hour!
Patience.....
To make the cream topping, simply pour the powdered sugar and the cream into a bowl and use a mixer to beat the ever-living crap out of, until it's thick whipped cream. Add the vanilla. Now, pull the pie out of the fridge (has it been an hour? No cheating) and spread the cream across the top. Easy-Peasy!
"How much cream?" That's entirely up to you. I put about 1/2 inch of cream over the top and I added a few small bananas to I could tell the difference between this true banana pudding pie and a coconut cream imposter!
"How good is this pie?" This pie is ridiculous, it's so good. "Is it a pudding, or is it a pie?" Well.. it's both! If you can manage to extract a perfect triangular piece and put it neatly on a plate, then call it a "pie." If your piece collapses into a joyous hunk of pudding, cream, and crumble, then call it "pudding!" Either way, it's fantastic!

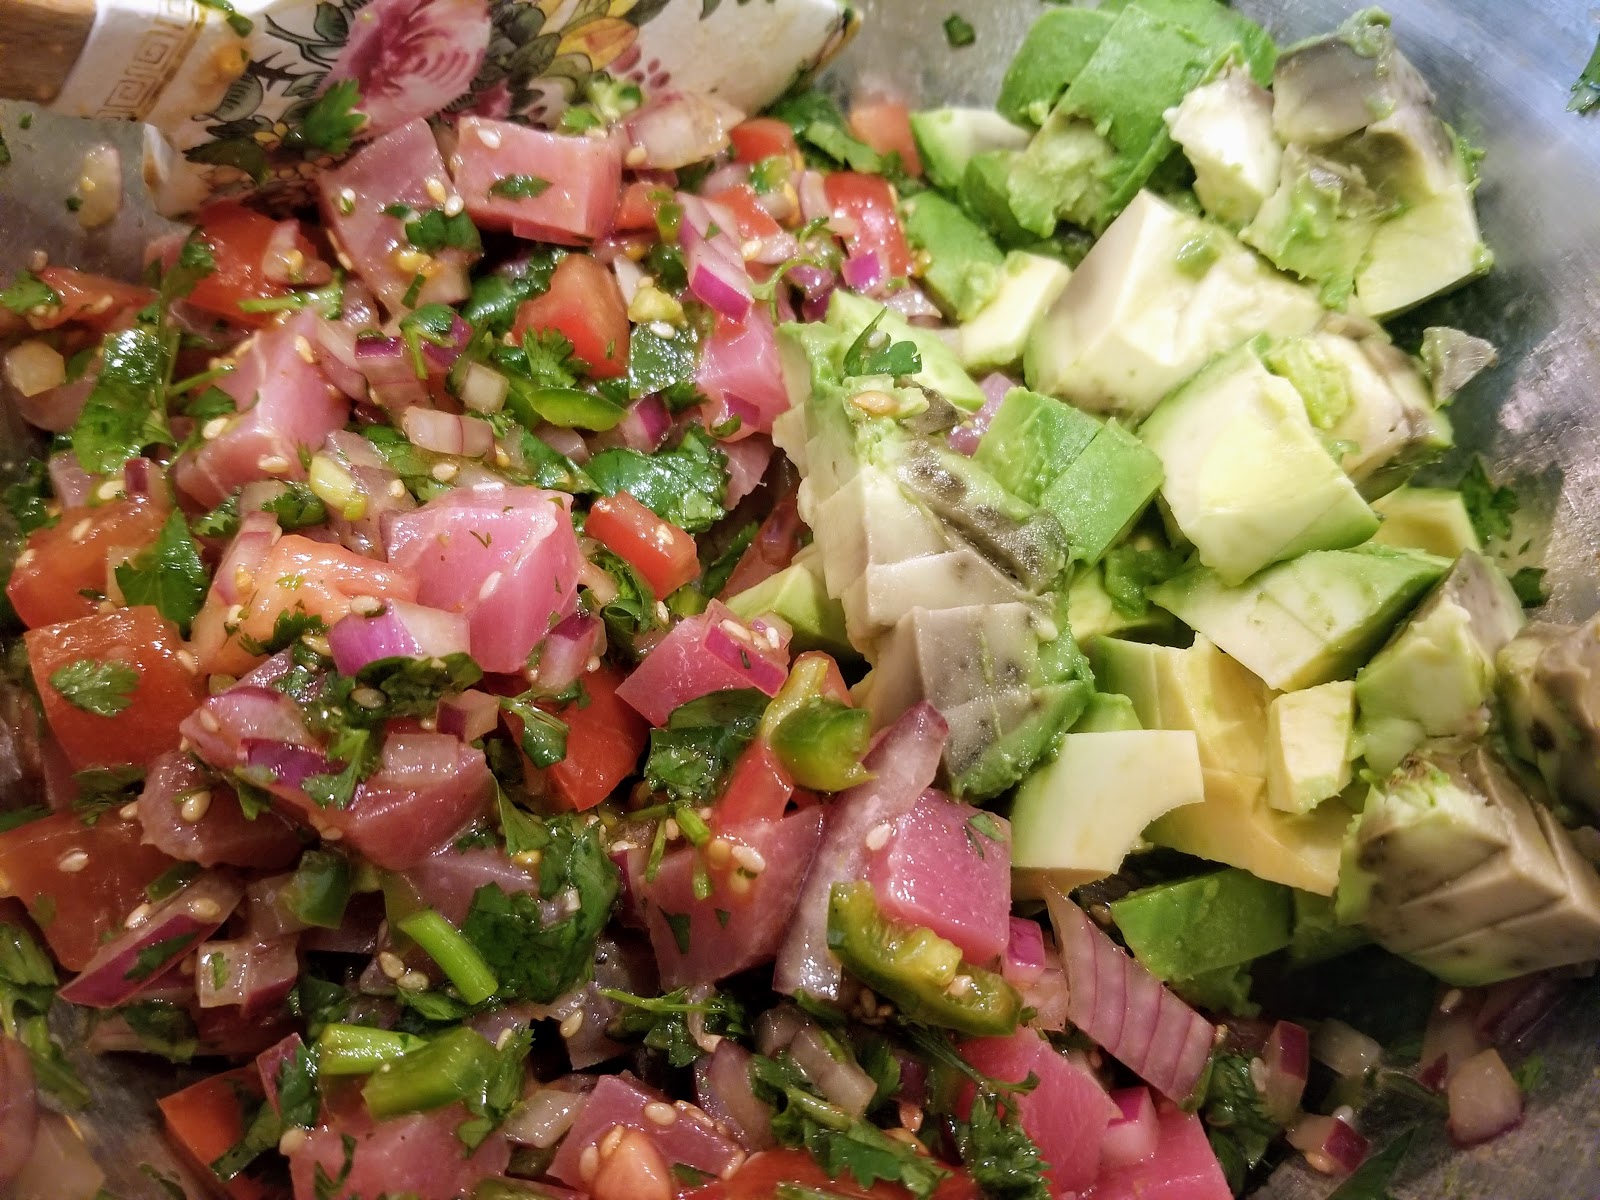
 Glop the olive oil into a nice clean medium-sized bowl.
 Add the lime juice, and stir.
  Add the onions.
 Add the Cilantro.
 Add the Jalapenos.
 Add the Seeds.
 Add the tomatoes and GENTLY stir, stir, stir!
 Now, get out your sharpest knife and carefully cut your Ahi-steak into 1/4" cubes. Trust me, this is so much easier with a sharp knife. If your "best knife" is that rusty old thing with the faded wooden handle that you've run through the dishwasher a thousand times, you're due for an upgrade!
 Dump the tuna cubes into the bowl and gently fold them into the mix.
 The Avocados are last because they're so fragile. Slide them in and gently fold them into the mix.
 Finally, shake on a fairly generous amount of soy sauce. Taste it. Use regular salt and pepper to do any "fine tuning" if necessary!
 Serve this goodness on little brioche toasties, good crackers, chips, or just eat it with a spoon!!