I suppose that entire encyclopedias have been written about "How to Grill Like a Pro" or "How to Master Your Outdoor Grill," etc. I'm not trying to change the world here, but I feel like I have two or three cents worth of experience to add. I've stood as the Pit-Master and logged thousands of hours of "cook time" in front of grills and smokers that range in size from a 4-burger "Tailgate Special" to the behemoth monsters in stainless steel kitchens that could feed 500+ hungry Texans some smoked brisket for lunch.
I'm not trying to recruit an army of BBQ professionals to fly over to Afghanistan to feed all of the troops or anything (yet... because that
would be awesome), but I smile whenever someone I've helped in the past calls to tell me, "Hey, my brisket/pork/chicken was
great last night and my family loves me!"
I'm aware that this is a "Blog" and not a "Novel" so I'll try to keep this short. Here's the cliff notes if you don't have the time to read the whole article:
- Temperature is EVERYTHING!
- Temperature is STILL everything!
- Charcoal, not Propane. Just do it.
- If you must use Propane, FIX IT!
- The order of Meat on a grill.
- Rarely put anything right over the fire!
Let's elaborate:
Temperature is
EVERYTHING!
It's true. Most people don't know this, but when you buy a new oven, there is a whole chapter in the instructions on how to calibrate your oven. Right out of the box, an oven may or may not hit the target temperature that you set for it... probably not. Smart people take the time to adjust it so when they bake cookies at 350, for example, the temperature in the oven matches what the display says... "350." The cookies are cooked through, on time, etc. When you cook with fire, temperatures around your grill are going to range from 200 to 700 degrees so it is
critical that you learn just how hot various parts of your equipment will get! Invest in some equipment that will keep you apprised of
exactly what's going on inside your grill. Your food (and your guests) will thank you. Most of what you cook is actually "roasted" or "baked" in your grill and not "grilled" directly over the fire so, it's important to build the right environment for cooking or smoking.
Learn your grill's environment. What I mean is, you'll encounter a recipe (for example) that calls for "225 degrees for an hour per pound" or something. Well, where is your grill 225 and under what circumstances? If the temperature falls below 200, what's the quickest way to heat it back up? I know my smoker responds instantly to the damper. If I open it another inch, the response on my thermometer is
instant! The heat will climb another 15 degrees. Of course, my fire will burn out more quickly... but this is to be expected if I'm trying to smoke some pork shoulders in January, vs. July.
Temperature is
STILL everything!
As important as it is to know how hot your grill is, it is
paramount to know when your food is done! A chicken breast is "done," delicious, juicy, and tender at 160 degrees. That same chicken breast is a flavorless dry "puck" of poultry 15 degrees later at 175 so... stop over-grilling everything to "make it safe!" A dear friend of ours likes to buy those rotisserie chickens from the store, and then take them home to grill them because "they're so soft, they can't possibly be done." *sigh* I assure you, they ARE done, and they're "soft" because they're not
over-done! Get yourself a good "Instant Read" thermometer. I can tell you from experience that you get your money's worth from these units. A $10 unit will take almost a minute to give you a reading, and it will still be +/-8 degrees off and it will last you a summer or two. A $90 unit will take 3 seconds to give you a scientifically hyper-accurate reading, and will be the last unit you ever buy. Pick your poison.
I put food on the grill once it hits room temperature. If you put it on the grill straight from the fridge, you'll burn the outside before the inside ever gets done. Take your food out of the fridge and let it rest on the counter to "cook" up to room temperature first. Then cook it, then pull it off the grill. I pull food off the grill once they hit the following temps:
White Meat Chicken: 160
Dark Meat Chicken: 170
Pork Chops: 140
Steak: 120
Burgers: 140
Sausages: 140
Big Meats (Shoulders, Briskets, ribs, etc): 190, but only because it takes that kind of heat to break down the connective and "chewier" tissues.
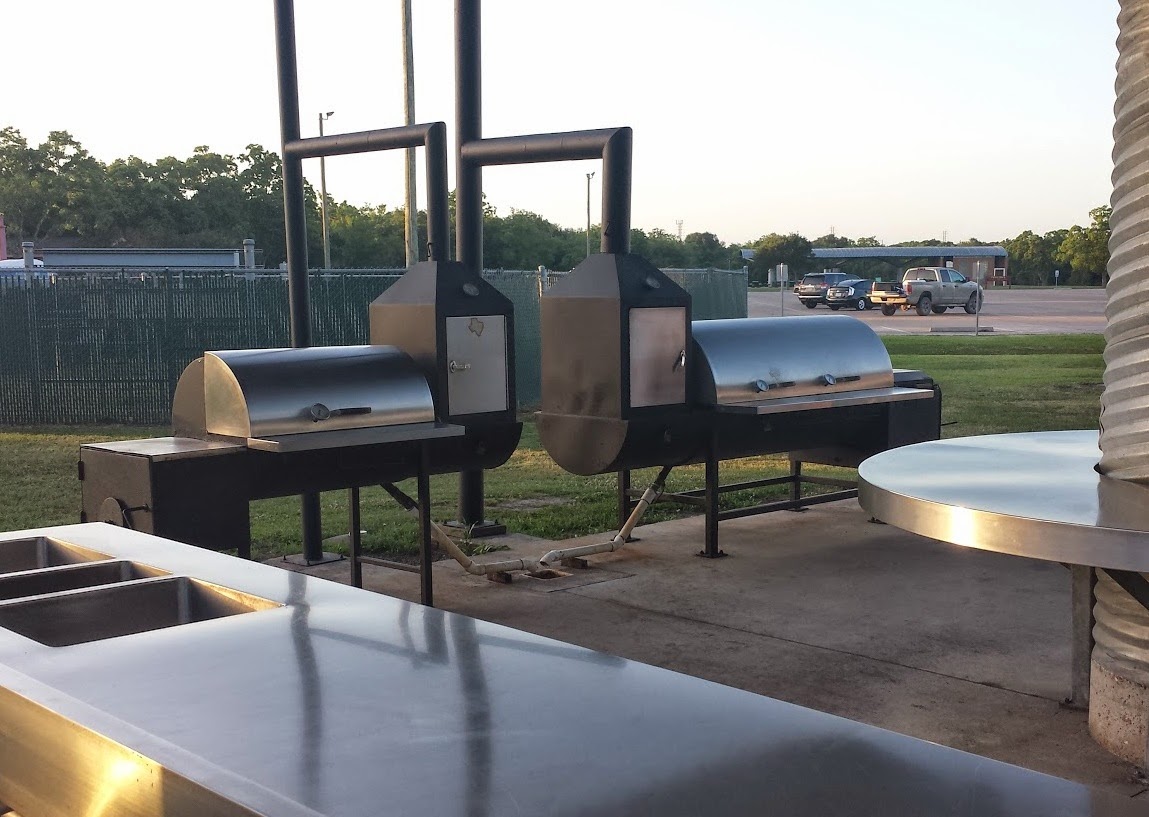
Charcoal,
not Propane. Just do it.
I'm not against propane, per se, you absolutely can not beat it's convenience. Push a button... fire. To grill with charcoal requires at least a 45 minute lead time before you're cooking, and you will get your hands dirty. With propane, you walk out and push a button... <click> <BWOOOF>, done.
However, you'll never, never,
ever get the same flavor out of a propane grill that you get with charcoal or wood; no matter how many "flavor baffles" your grill might have. Period. I've been smoking my pork shoulders with Apple wood lately... oh my! Can't get that flavor with Propane.
So, if you want to impart smoke and flavor to your food, get a charcoal grill. Then get some lump charcoal (burns hotter with less ash) and some chunks of wood (Mesquite or Hickory to start with). I might even suggest, even if you have a multi-thousand dollar super-grill, that you spend $100 at a garage sale and hide a small charcoal unit in your backyard somewhere to experiment with. You'll be converted in a season or two.
If you insist on propane,
fix it!
I have a buddy who was amazed that the "Searing Station" on his new propane grill fired all the way up to a ridiculous 1,500 degrees. Seriously, it melted the decorative trim around the outside of the grill. That's more than double what you would ever need to put a good sear on a steak. A few inches over open flame is about 500 degrees in a normal grill so, he had some adjusting to do. Turns out, he had the regulator valve on his propane tank all the way, "wide," open! I suggest that you take a trip out to your grill and take its temperature, adjusting all of the propane valves to where they are supposed to be for the burners to operate properly. This is basically the same procedure as calibrating your oven! Dial up or down as necessary. When you adjust your burner to "Medium," you want "Medium heat!"
The
order of meat on the grill.
Most people want to pull all of the meat off of the grill at the same time, so they can serve it all to their guests at dinner. You can't tell your grandmother, for instance, "You have to wait, Gramma, because you wanted chicken and that takes longer!" Super thin burgers will be done twice as fast as thick steaks, and stuffed pork chops roast up more quickly than stuffed chicken breasts, etc (see temperature chart, above). There are lots of variables here, grill temp, type of meat, starting temp, etc. My advice is to keep a generous "warm spot" on the grill that's not near the flame. Apply your food to the grill according to how long it should take to cook (longest first). Keep a close eye on everything (with your temp probe) and move stuff to the warming area when it gets close to its target temperature. Move slower meats to the hot zone, etc. My secret? I almost always move everything to the warming zone before I put the steaks over the fire. Steaks are sacred (and expensive) and they deserve your full attention. They cook quickly so there is very little danger of anything in the warming area overcooking.
Rarely put
anything directly over the fire!
Fire is hot. The only thing with enough fortitude and muscle to stand up to 500+ degrees is a thick steak. Unless you're ready to advance to the time honored Cajun method of blackening food (not for rookies), most of your food should cook "near" the flame, and with the door to the grill
closed! Propane grillers should stick to Medium flame adjustment. Hotdogs are so much better if you let them come up to temperature slowly, without charring the outside. Chicken skin should be crispy, not burnt, and pork chops retain so much more of their juices when cooked more slowly. The fat in sausages or hot links should be slowly rendered into flavorful juice and the casing should not be burned through (or poked with a pair of BBQ forks). This gives sausages that wonderful <SNAP> when you bit into them. Learn how hot your grill is... Most foods cook with much more flavor when they they "roast" or "bake" in a closed grill at 375 to 400 degrees.
Good luck, and happy grilling!!


